FREE 2-DAY SHIPPING
ALL DOMESTIC ORDERS
Back to Top
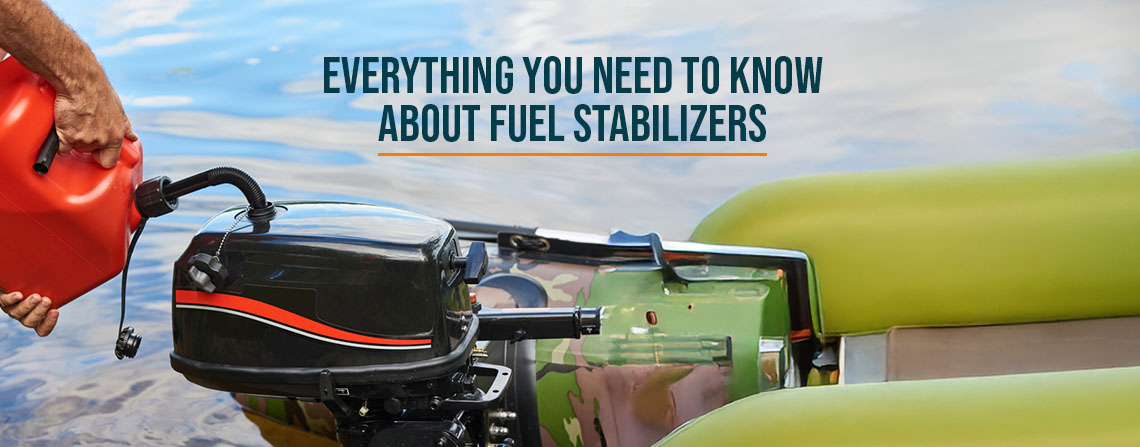
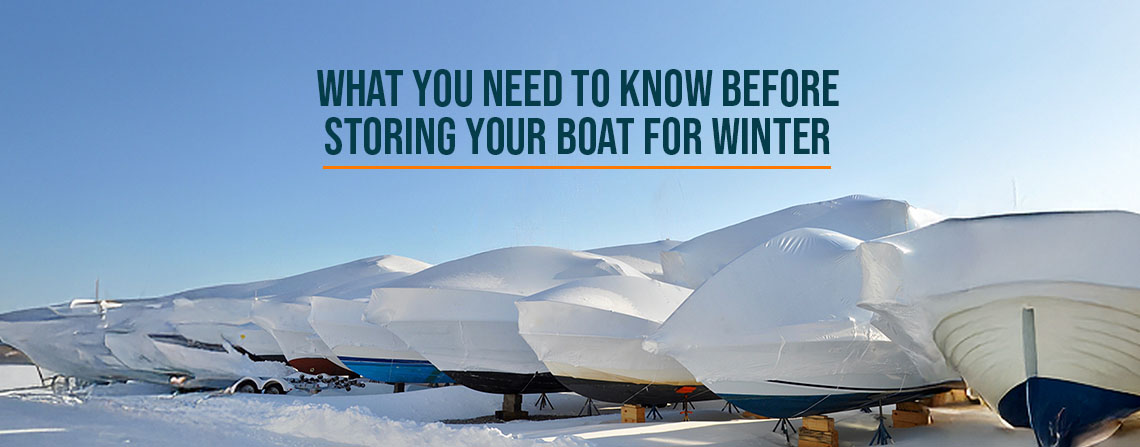
Learn More From Marine Tech

FREE 2-DAY SHIPPING
ALL DOMESTIC ORDERS
The SeaStar hydraulic steering system is the most common steering system found on outboard motors. It’s a good system, but as with any hydraulic system, the weakness is in the shaft seals. If you have a boat with hydraulic steering, you will need to replace the cylinder seals at some point.
At the shop, this is a $500 job. And of course, the shop may not work into your boating schedule. So DIY is the way to get you back on the water as quickly as possible. In this post, we will show you how to diagnose worn seals and then disassemble and rebuild your SeaStar hydraulic steering system with new seals.
![]()
The first sign of seal failure is oil leaking from the cylinder onto the piston rod and transom. You’ll also feel vague or spongy steering, which tells you that either air has gotten into the system or some fluid has leaked out.
Once the seals start to leak, they are not going to get better. So it’s best to go ahead and get them changed out as soon as you notice the problem, instead of letting them fall into even more disrepair. You don’t want to risk damaging the cylinder or losing steering altogether.
![]()
The first step is to break loose the cylinder end caps. You want to do this first, while the cylinder is in a good fixed position, so you’ll be able to put a good bit of torque on it to get those end caps loose. Once you’ve taken off the brackets, the cylinder will move around on its own and it will be really difficult to get the end caps off.
As you break the end caps loose, make sure you get the spanner braced well, so it doesn’t pop loose and gouge the main rod.
![]()
Next, bleed the system to check the fluid. We use the return disconnect on our Marine Tech Bleed System to collect some of that fluid in a jug and see what’s coming out.
If the fluid is really filthy and contaminated, it will be a matter of deciding whether you’ll have to purge the entire system itself, or whether you can just bleed the fluid into the cylinder and be done. Be aware that there’s a big difference in cost there.
What you want to see instead is clear oil with no debris. If that’s what you have, you can simply re-seal the cylinder itself, then bleed enough fluid through it so you can fill it up and get all the air out of the system.
There’s probably a good bit of fluid left in there, so be sure you’ve put down plenty of oil absorbers to catch it. Then go ahead and unthread the end caps.
![]()
A typical problem we run into here is that the support bracket completely seizes into place over time. This can be time-consuming and difficult to get off without breaking anything in the process.
Over the years, we’ve developed a puller that gets the job done with minimal damage. This tool fits over the end of the support bracket, and then the main bolt has a cuff that locks onto the support rod while you turn it.
If your steering rod spins too much for you to get the nut on the other side loose, you can wrap it with a retired winch strap and clamp it on with a set of vice grips. This will hold the steering rod in place while you remove the nut.
![]()
Now you’re ready to pull the steering rod out of the cylinder. There’s always some oil left in there somewhere, so be sure you still have your oil absorbers down. You also want to take care not to run the threaded end of the rod against the cylinder walls.
Inspect the steering rod for severe pitting, as that will rip up your new seals, causing premature failure. Wipe out the inside of the cylinder, and if everything looks good, you’re ready to put in the new set of seals.
![]()
The rebuild kits that come with the new seals will also have a new set of o-rings, so be sure to change those out as well. As you put the system back together, coat everything in plenty of grease. It’s impossible to prevent the support bracket from seizing up again in the future, but the grease at least helps keep it in good use for as long as possible.
When you put the steering rod back through the cylinder, the main thing to avoid is rubbing that nice set of threads down the sides of the cylinder. Slide it straight through as carefully as possible. Then take the protective plastic fitting that comes with the re-seal kit and put it over the end of the rod.
Make sure the bleed fittings are loose, as this makes things a lot easier while you’re adjusting everything. Then, once everything is threaded back together, go ahead and tighten the end caps just enough to get them threaded on all the way.
Diagnosing, disassembling, and rebuilding your hydraulic steering system is a simple and straightforward process once you know what you’re doing. The key is to take your time so as not to damage anything, and to use plenty of grease when putting it all back together.
