As much as we hate to have it happen, boat motors do need maintenance and repair. There may be an instance where your trim seals are failing or have blown out completely, and you’ll notice they are leaking fluid. If this goes on long enough, eventually, your motor will begin taking on air or other debris, causing it to lose function over time. If it is not corrected, it will seize in either the up or down position.

Fortunately, this is a relatively easy fix. Marine Tech offers both the tools and instructions needed in an easy walk-you-through-the-steps video and this guide. The amount of time for this job is usually no more than an hour. Visit our DIY Training: Yamaha Trim Seals.
Replacing Your Trim Seals
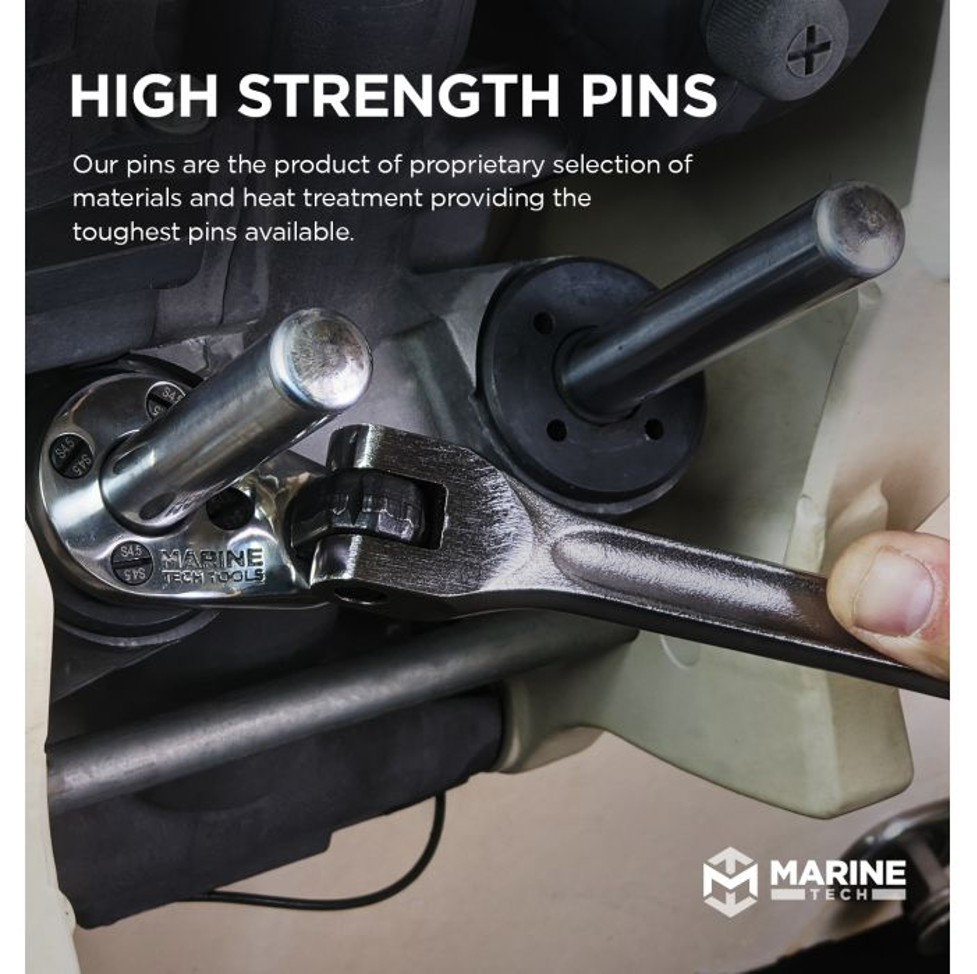
To begin this process, you need the right tools. We recommend our 4mm x 38 mm Pin Wrench as well as a breaker bar. Typically after these motors have been in saltwater for extended periods of time, they tend to require a fair amount of torque to remove the end caps. We start by removing our trim cylinder end caps and pulling the trim pistons out. You will need to pop the end seals out as well as the O-rings. These will be replaced with all new OEM (original equipment manufacturer) parts. It is important to inspect the trim pistons upon removal to make sure there is no severe pitting or other visual damage. Inspecting the inside of your system is vital in making sure there is no catastrophic damage that will shred the new seals you will be putting in.
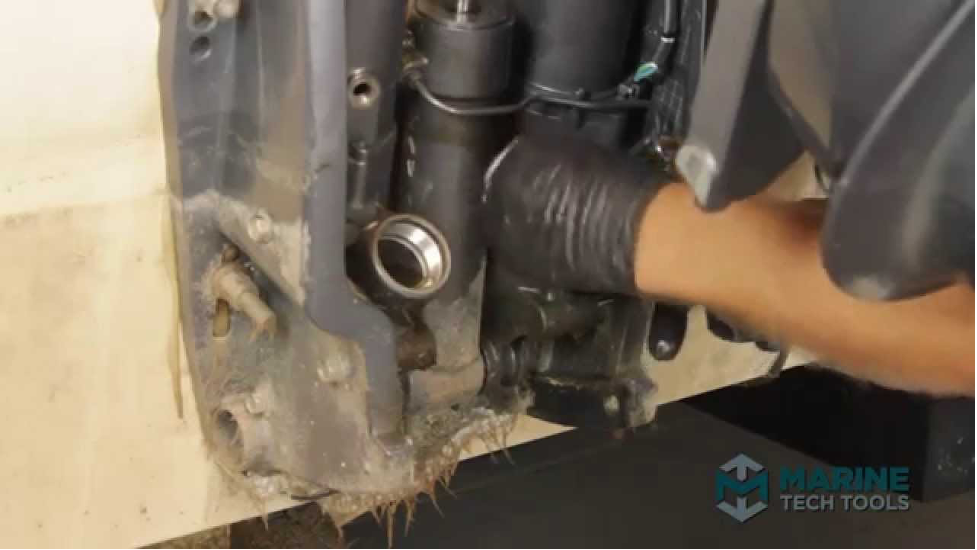
Start by positioning an oil drip pan below your unit to catch the oil that drips (Yes. It can be a bit messy). Next, place the locks in the down position so you can drop the motor onto them. It is very important to inspect your locks first to make sure they are in good condition (not bent or deformed) and can handle the weight of the motor. You need to be careful during this process so that no injuries occur. Always put safety first!
Now, you can manually release the motor by turning out the manual release screw. This allows the fluid to flow freely between cylinders, and we are able to manipulate it by hand. Make sure not to strip the screw when loosening it for manual release, or you will have turned a relatively easy job into a more difficult one. This step also releases any back pressure in the unit and makes removing the end caps much easier.
Next, using our pin wrench and having a breaker bar at the ready, remove both end caps and allow excess fluid to drain out into a container below. Noticing fluid on top of the closed-end caps is a good indication that the seals are failing. After removal, Inspect the end caps to make sure the metal is in good condition (no pitting or corrosion). Evacuate all the remaining fluid. A hand-powered evacuator works well for this. Visually inspect down into the cylinders and the housing for anything suspicious. We are looking for metal shavings or any other debris that could cause damage.
Inspect For Visible Damage
Taking the end cap in your hands, do a quick visual inspection to make sure the metal looks good. Next, using a small hook, gently remove the O-ring and the snap ring. Clean up the end cap and then replace the O-ring and seal with the new product. They should go on pretty easily. Make sure they are securely in place. Do the same with the snap ring. Insert the trim piston into the end cap assembly and make sure there is smooth movement. We do not want any metal burrs or hang-ups. It should slide back and forth with ease.
Now you're ready to add Hydraulic Steering Fluid back into the system. Pour your trim fluid into each cylinder up to the bottom threads. This will help in bleeding the system. The fluid will transfer and even itself out between both cylinders, so be careful not to overfill. Once your fluid level is at the bottom of the threads, you are ready to insert your trim assembly down into the unit and tighten it down. Adding a small amount of trim fluid to the O-rings aids in making the transition and protects the rings. Once it is hand tightened, go ahead and apply the pin wrench and complete the tightening. Keep an eye out for any excessive resistance, as this could mean that your new set of O-rings are getting hung up, and you’ll then want to back out the assembly and check for any problems.
Bleeding The System
Your next step will be to bleed the system. To do this, you first need to tighten the manual release screw back up. Remove the reservoir screw, being careful not to strip out the threads. Now add fluid to the reservoir. We are also trimming the motor up to make sure there is no air in the system. You will notice when the system is bonded by the sound of the hydraulic motor. Replace the cap of your fill reservoir and take care not to over-tighten it. Stripped-out threads will cause you to have to replace the reservoir. Add a small amount of grease to the ends of the trim rods and carefully lower the unit down onto them using the manual release. Keep a firm hand on your motor, so it doesn’t slam into the trim rods causing damage.
The Final Step
You will probably hear the sound of air escaping from the system. That is what you want to hear. We want all the air out of the system. Now tighten the manual release screw, raise the motor all the way up to the top of the range using the trim switch. Once this is complete, congratulate yourself. You just successfully replaced your trim seals. Great job!