In The Event Of A Fluid Leak Or Presence Of Air

With boating season fully upon us, you’ll want to make sure you're ready to hit the water in a safe, reliable vessel. Steering issues can definitely be a problem you’ll need to resolve. Having a fluid leak or possible air in your steering system will be easily noticeable. When pushing on your outboard motor, if you notice any movement or “play” in it, that is a good indicator of a leak. In this case, you are going to need to disassemble the system, inspect it, and replace the seals and end caps. Marine Tech’s Seastar Cylinder Steering Seal Kit will give you the items needed to tackle this job. Let’s get started!
How to Diagnose, Disassemble and Rebuild SeaStar Marine Steering System

After determining that there is leakage from your end caps upon visual inspection; that is to say dripping of fluid onto the cylinder itself, your seals will need replacing. Before starting this job, you might want to wear a pair of gloves that will both protect your hands as well as allow you to grip the parts well.
Carefully break end caps loose
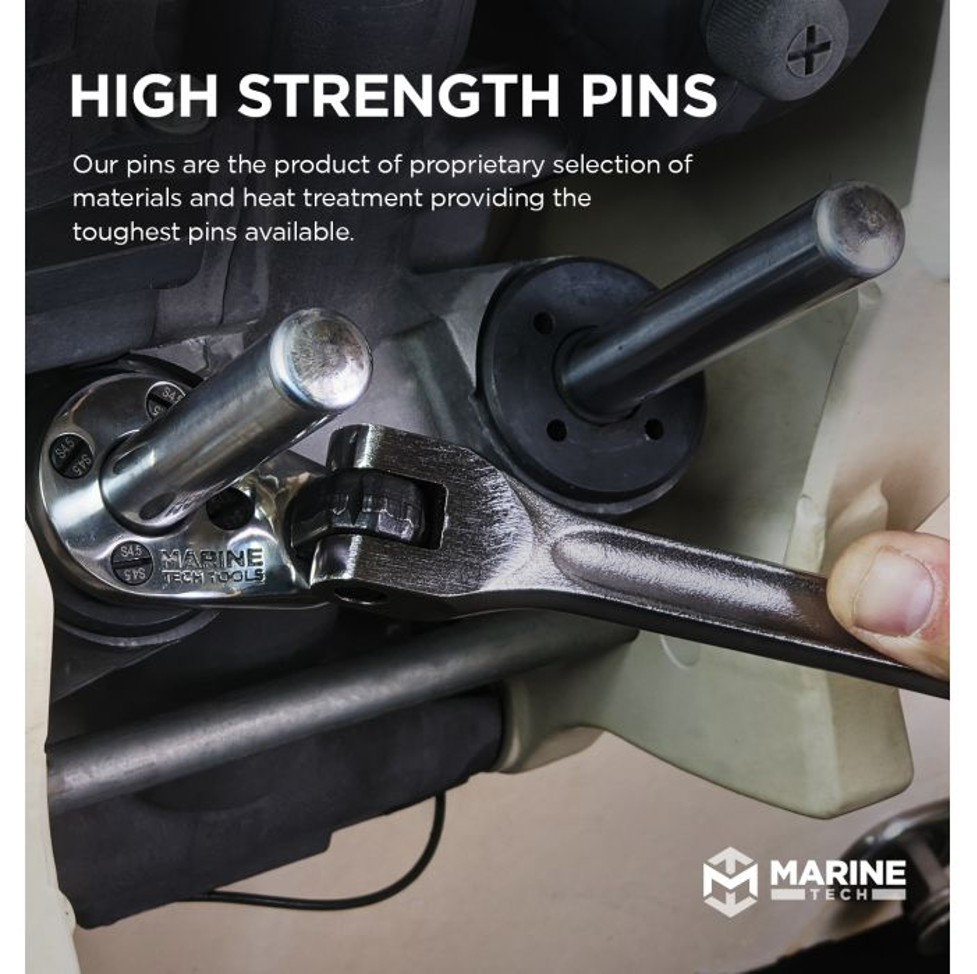
The first step we need to take is to carefully break the endcaps loose on the cylinder. We will need to do this before we do any work on the cylinder itself for stability reasons. If we remove the brackets for the cylinder first, it creates too much movement and makes the job much more difficult.
Make sure that you keep the spanner braced well. You do not want it popping loose from the wrench and gouging the main rod in your system. This would be a costly mistake. Apply gentle, yet firm torque to pop the end cap loose, but do not remove.
Connect tubing to the return line
To do so, you can use the tubing from our hydraulic bleed system and modify it in order to drain the fluid. Pay close attention to the color of the draining fluid. After connecting the tubing to it, if it appears dark and full of contaminants, you will need to purge the system and replace all the steering fluid. If you’re lucky and the fluid appears clean, you may be able to get away with just bleeding some fluid into the cylinder itself. But your system will need clean fluid, so make the right choice.
Remove trapped air
If your fluid looks clean, you can now do a bleed on the system to remove all the trapped air. To do this, unthread the end caps one at a time. They should unscrew easily in your hands. Be prepared for fluid to come out. Use some absorbent pads underneath your system to avoid a mess.
Prepare and remove support brackets

Next, pull the nut and washer off of the support rod. Be careful not to damage the motor with the ratchet tool.You are now ready to use the support bracket puller. You may run into a typical problem of the support bracket being seized into place. This issue can create a time waster and also a danger to yourself due to the complexity of removing the bracket. Marine Tech’s Seastar / Uflex Support Bracket Puller can help alleviate these issues. It will fit over the end of the support bracket. You can thread it over the main bolt and lock it on the bracket. If the transom area is small, make sure to use a cloth to protect the gel coat from any potential damage from the puller as you gently work it back and forth to loosen the bracket. A couple of turns with a ratchet should work it loose.
When you try to twist the steering rod, it may just spin and not back itself out. In this case, we suggest also using a piece of winch strap and a set of vice-grips to hold the rod in place as you ratchet the rod free. Examine the steering rod to make sure it is damage-free. Remove the nut and gently remove the rod from the steering cylinder, being careful not to run the threads of the steering rod against the cylinder wall.
Inspect, clean, and reseal
Inspect the steering rod to make sure there is no pitting in the rod itself. Severe pitting will rip up a new set of seals and cause premature failure. Next, inspect and clean with a soft rag, the inside of the cylinder itself. Pull the bleed fitting loose and replace the O-rings. Marine Tech’s steering cylinder seal kit will come with these parts. Remember to add a bit of fluid to the new O-rings that come in your kit before sliding them onto the bleed fitting and threading it. A good coating of grease gives you the best chance of keeping things in good working order for as long as possible. If there is smooth movement in the whole assembly, then just add a good coating of grease and you should be good to go.
Now you will be carefully threading the rod back into the tube and placing the protective plastic end caps that come in your kit, onto the ends of the rod. Slide your end caps on. Thread and tighten just so they are snug. Add another touch of grease to your rod end and then insert it back into the support bracket.
Final steps
Now you're ready to do a final tightening of all nuts and end caps with your ratchet, making sure to tighten them with appropriate torque. At this point, all that is left is to bleed the system and you are finished. Congratulations!
Visit our blog to learn more: