Replacing your trim and tilt cylinder seals is a perfect DIY job that you can get done in about an hour or less, with under $100 in parts, and using minimal tools.
Keep your boat out of the shop, spend more time on the water, and save money by tackling routine maintenance jobs yourself. Marine Tech has the tools, supplies, and most importantly, the easy-to-follow training to tackle this boat maintenance task yourself.
Here are the only tools you’ll need to get started:
- Flat-head screwdriver/bit for the manual release valve
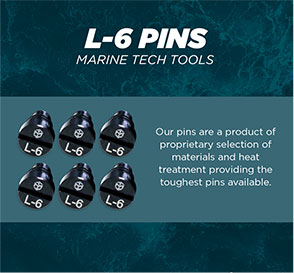
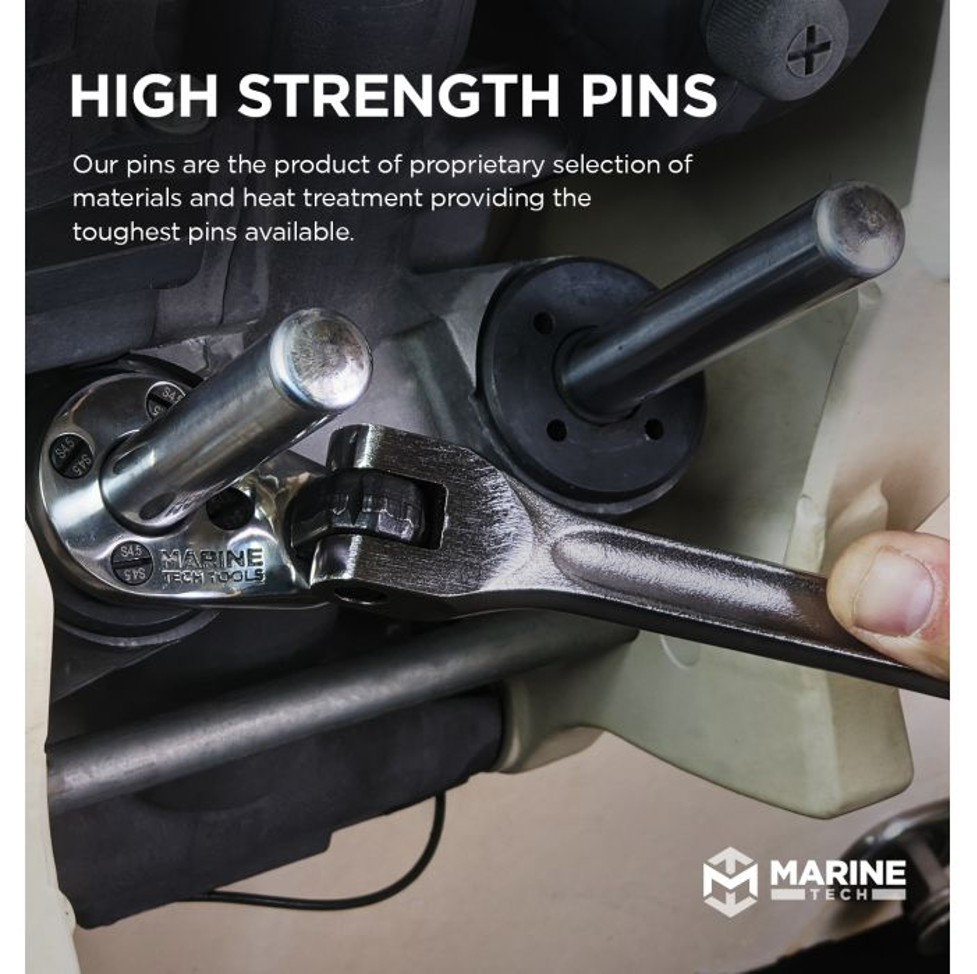
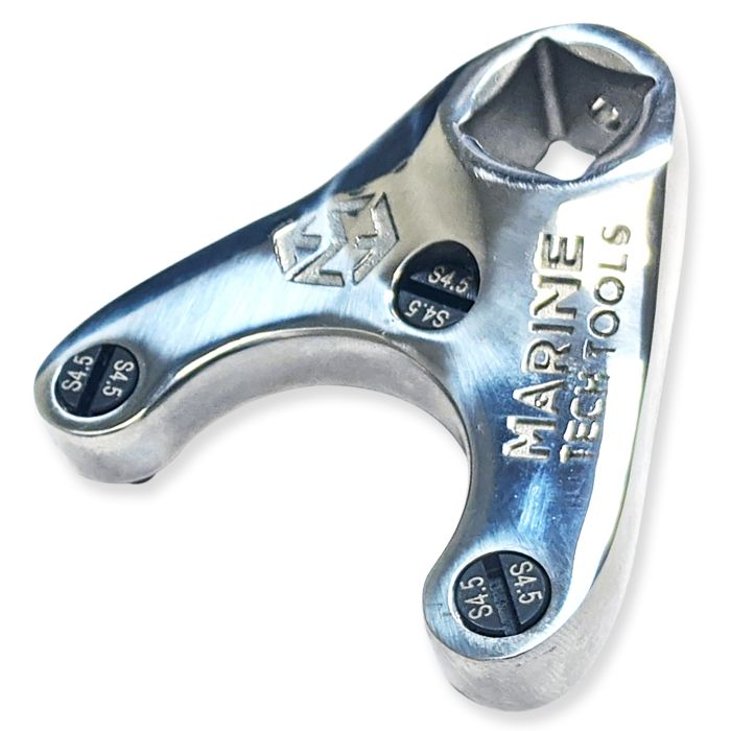
- Marine Tech’s Pin Spanner Wrench to remove end caps
- Hand pump to remove old trim fluid
- Wrench to remove fluid reservoir plug
How Do You Know If Your Seals Need Replacing?
The first sign that your trim and tilt cylinder seals are starting to fail will be a sheen of hydraulic oil on the top of the seal.
When you see this, it’s time to change them out.
If left unmaintained, more fluid will leak out resulting in a loss of function. Eventually, your motor will get stuck in the up or down position.
Even worse, material may get into the hydraulic chamber and damage the housing or piston.
Watch And Learn From a Pro
Marine Tech has made an excellent video that will walk you through the entire process for a trim cylinder piston rebuild in just 20 minutes.
This video covers how to safely set up the motor before you start working and includes step-by-step instructions from start to finish. Marine Tech’s mechanic also gives pro tips on how to inspect for wear along with precautions to take for a flawless job.
Watch the entire Yamaha Trim Seal Repair / Rebuild video here.
Here are a few comments from previous viewers:
“Really appreciate this video. I was able to get the replacement parts and have everything replaced in less than an hour on a 2015 Yamaha 150. Toughest part was getting the dry rotted seal out of the cap. Everything else was super easy. Thank you.”
—Buddy Hall
“Awesome video! This guy explains everything in detail and doesn't overcomplicate it.”
—Ponch1200
“Thanks for making this video, It helped me service my seals myself and saved me a lot of money in shop time.”
—Cody’s Outdoor Adventures
Step-By-Step Cylinder Seal Replacement
If you don’t need a full video walk-through, here’s how to complete the seal replacement, one step at a time.
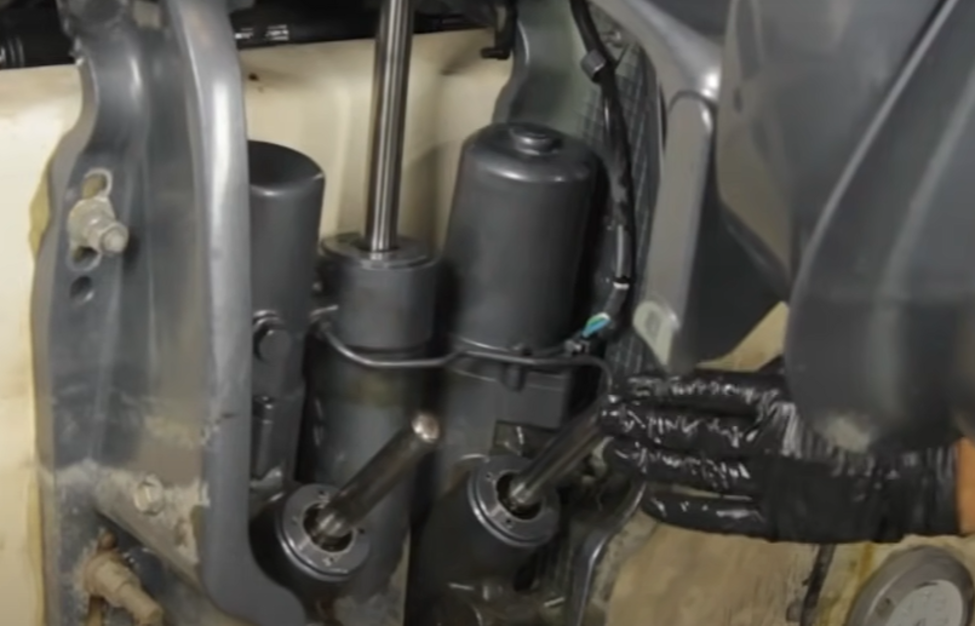
Step 1: Lock your Outboard in the up position by using the tabs on the motor. (Caution: Ensure the motor’s lock tabs are in good condition and not bent.)
Step 2: Loosen the manual trim screw so fluid can flow freely through the unit.
Step 3: Unscrew the end caps using Marine Tech’s specially designed spanner wrench. (The end caps can usually be reused.)
Step 4: Remove the pistons. (Be ready to catch the trim fluid.)
Step 5: Remove the fluid reservoir plug and set it aside.
Step 6: Evacuate the old hydraulic fluid. (A hand pump will work.)
Step 7: Inspect the housing, pistons, and end caps. Look for pitting or gouges that could damage the new seals.
Step 8: Remove the old o-rings.
Step 9: Remove the snap-rings.
Step 10: Remove the old seals. (Be careful not to mar the aluminum housing.)
Step 11: Clean the end caps.
Step 12: Install new o-rings.
Step 13: Install new seals. (Press all the way down.)
Step 14: Install new snap-rings.
Step 15: Place the caps on the pistons and make sure there is smooth motion.
Step 16: Refill housing with trim fluid up to the bottom of the threads.
Step 17: Screw pistons back into the housing. Use Marine Tech’s spanner wrench to tighten without pinching the seal.
Step 18: Tighten the manual release screw.
Step 19: Press the tilt button up while adding fluid to the reservoir until you hear the system bind.
Step 20: Replace the reservoir-fluid plug. (Caution: Don’t strip the threads—this could lead to needing to replace the entire reservoir.)
Step 21: Place grease on the end of trim rams. (Where they come in contact with the motor).
Step 22: Bring the motor down onto the rams using the manual release valve.
Step 23: Move the motor through the full range of motion using the controls to verify operation and release any remaining air in the system.
That’s it! You’re ready to get back out on the water.
The right tools and professional advice

Boat ownership becomes more fun (and affordable) when you can handle basic maintenance and minor repairs yourself. Marine Tech is here to make that easy to do.