Bleeding your hydraulic steering system is an important step in the process of changing out your steering cylinder seals. Once you finish replacing the seals, you will have dumped out a bunch of fluid and introduced new air into the system, so your next step is to bleed the system and get all of those air bubbles out.
While you can use a product such as the PowerPurge Jr. to do this, we’ve developed our own comprehensive bleed system kit that performs the same functionality at a fraction of the cost and complexity.
Our Bleed System Kit
Our comprehensive bleeding kit comes contained in a resealable 5-gallon bucket and includes:
- An elevated 3-quart reservoir that provides pressure and fluid
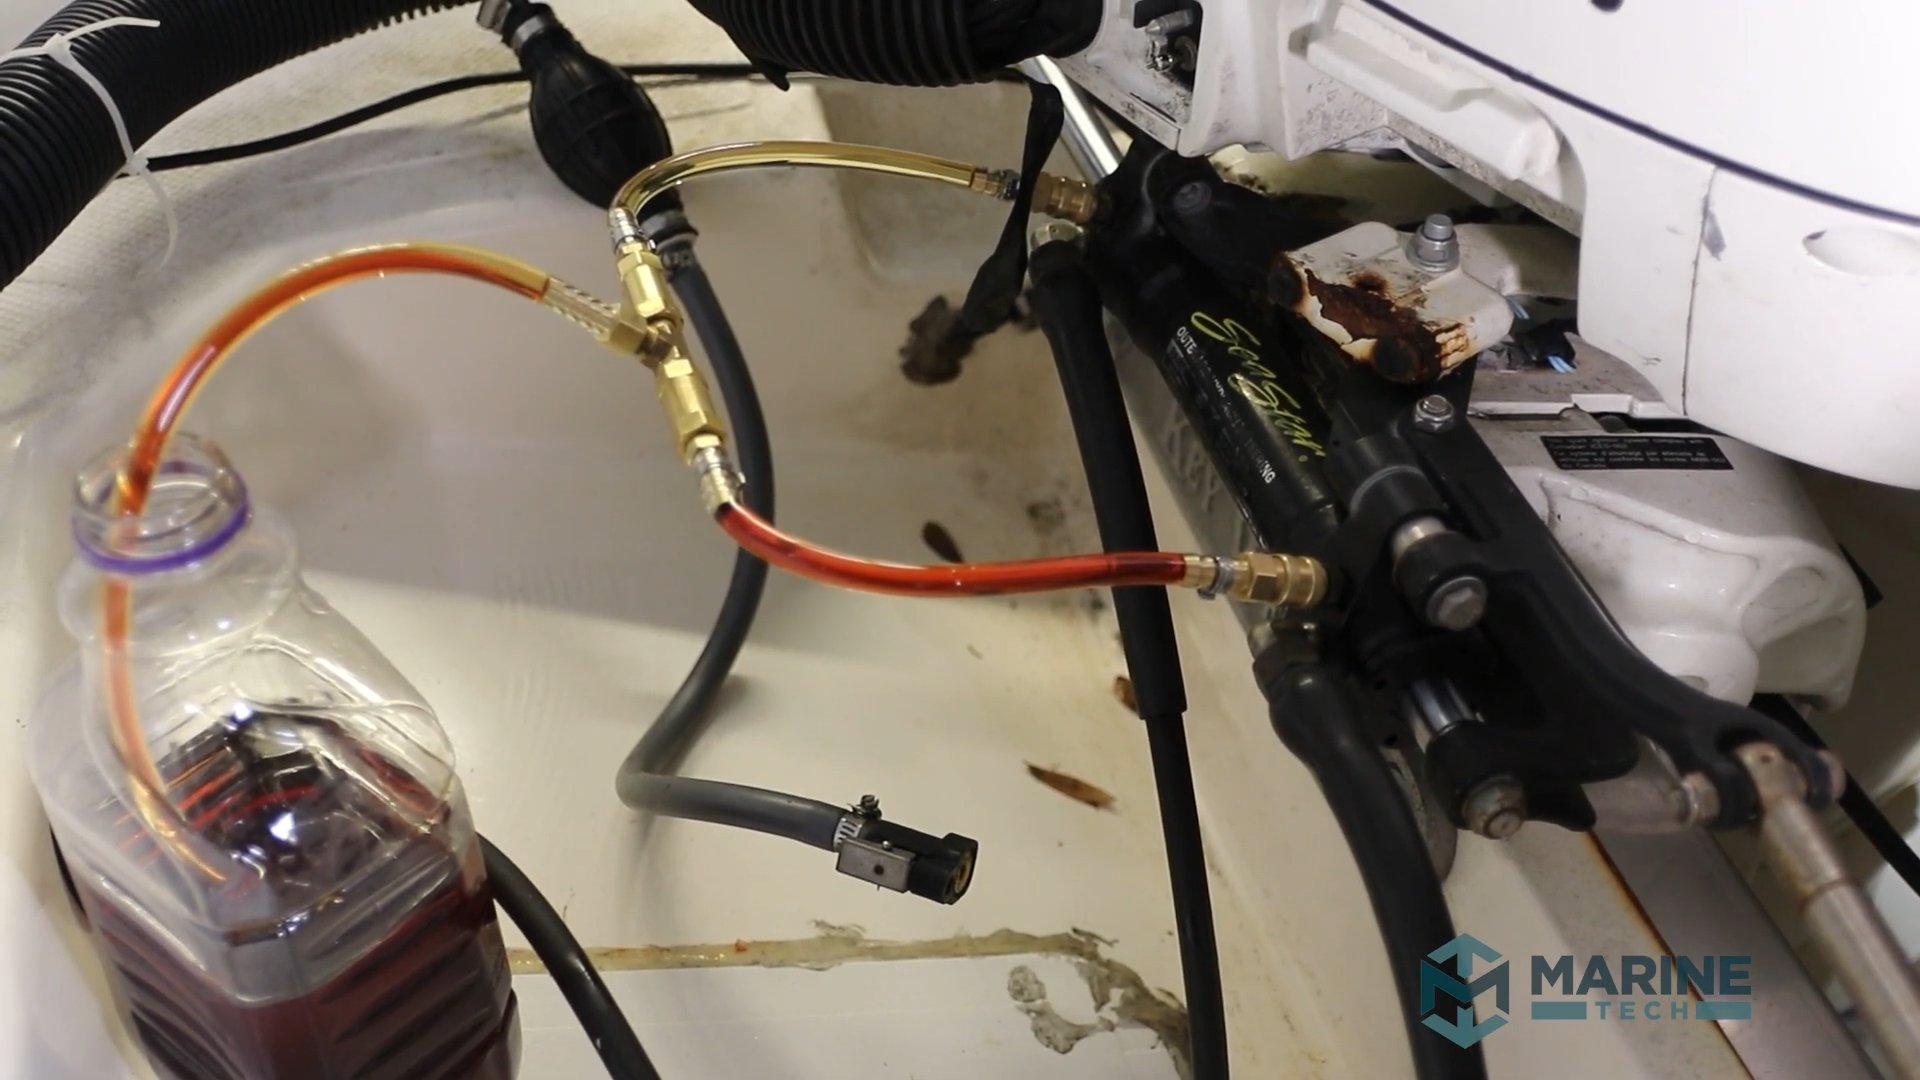
- Leak-proof quick connect fittings for the steering cylinder
- 25 ft return hose
- A brass helm fill adapter
- A ½” thin wrench for the bleed fittings
The kit is by far the most comprehensive and cost-effective solution, but we also offer a number of other options for a DIY bleed kit.
How to Bleed the System
The first step is to connect the return line to the cylinder bleed fittings and check the fluid already in the system. If it’s dirty and burnt-looking, you may want to flush out all of the old fluid and replace it.
Flushing Out Old Fluid
Our return line is equipped with easy disconnects, so all you have to do is disconnect the line, put it into a bucket, and open your bleed fittings. Then go up to the helm and turn the steering wheel both directions until you see new, clean fluid coming out of the steer cylinder.
Setting Up to Bleed the System
If the fluid is already clean, you can simply bleed enough out to get rid of air bubbles. To start, use the thin wrench included in the bleed system kit to open up the bleed fittings, and then head up to the helm and remove the fill plug.
Next, install the helm adapter and connect the reservoir. To get the air bubbles out of the helm, carefully crack the fill fitting. You should be able to hear the air coming out of the helm. Once that’s done, tighten the fill fitting up so you won’t have a big mess on your hands later. Now you’re ready to start the bleed procedure.
Bleeding Out Air Bubbles

Rotate the steering wheel at a slow, steady speed. Be careful not to go too quickly, or you risk sucking in air at the helm adapter. Keep rotating the wheel slowly until you see clean, bubble-free fluid coming up the return line into the cylinder. Then rotate the wheel slowly and steadily in the opposite direction until you get clean, bubble-free fluid coming out of that side of the cylinder, too.
Finally, double-check that there are no remaining air bubbles trapped inside the cylinder by manually pushing the motor from side to side. When you’re sure it’s free of air, you’re finished and ready to pack up.
After you disconnect the helm fill line and remove the helm adapter, you’ll need to visually inspect to make sure there’s fluid up to about a quarter of an inch below the threads of the helm. If that looks good, install your fill plug, and you’re good to go!
Packing Up & Storing the Kit
For your convenience, all the pieces of the comprehensive bleed system kit can be stored inside the 5-gallon bucket. Just be sure the reservoir remains more-or-less upright in storage, as it does have a vented cap.
The Right Solution Saves Time & Money
At Marine Tech, we’re always working to help boat owners like ourselves save time and money on repairs and maintenance. We’ve developed our tools to solve real problems and use them on our own boats, so we stand by their quality. That’s why we’re proud to offer 24/7 online support, free shipping on all domestic orders, and a 100% money-back guarantee on your purchases.