The regular 100-hour service on motors is critical for any DIY boater who wants to keep his boat in reliable service. This is the time when you get to find pending service items that could ruin your boating season, giving you the chance to catch and fix small problems before they get any bigger.
This is a perfect entry-level DIY job to give the boat owner confidence and a solid feel of his motor. It’s also the best time to get an overall view of the motor and see how it’s doing health-wise, so be sure to pay attention to what each component is telling you.
The basic Yamaha 100-hour maintenance consists of the following steps.

1. Change Lower Unit Gear Oil
Drop the oil out of the gearcase, checking for consistency and color. If you find any water in it, that likely means you’ll need to do a total seal replacement on the lower unit. Be very careful with the gearcase screws, both when you’re draining the oil and when you fill it back up later; it’s very easy to strip these screws, or to make a huge mess with the oil.
2. Change/Check Spark Plugs
These will give you a really good clue of what’s going on inside the motor. Once you remove the spark plugs, check them for any discoloration. The darker the color, the more likely it is that you could have carbon buildup inside the motor.
3. Change Engine Oil
While you can drain the oil a few different ways, we recommend pulling it out with an evacuator through the dipstick tube. This method is cleaner and allows you to work on other things while it’s pulling the oil.
4. Change Engine Oil Filter
As soon as you remove the filter, oil will start pouring out. Make sure you have something ready ahead of time to catch it! Once you replace the filter, carefully check around it, as well as between the seal and seating surface, for any debris such as zip ties that may have fallen down inside.
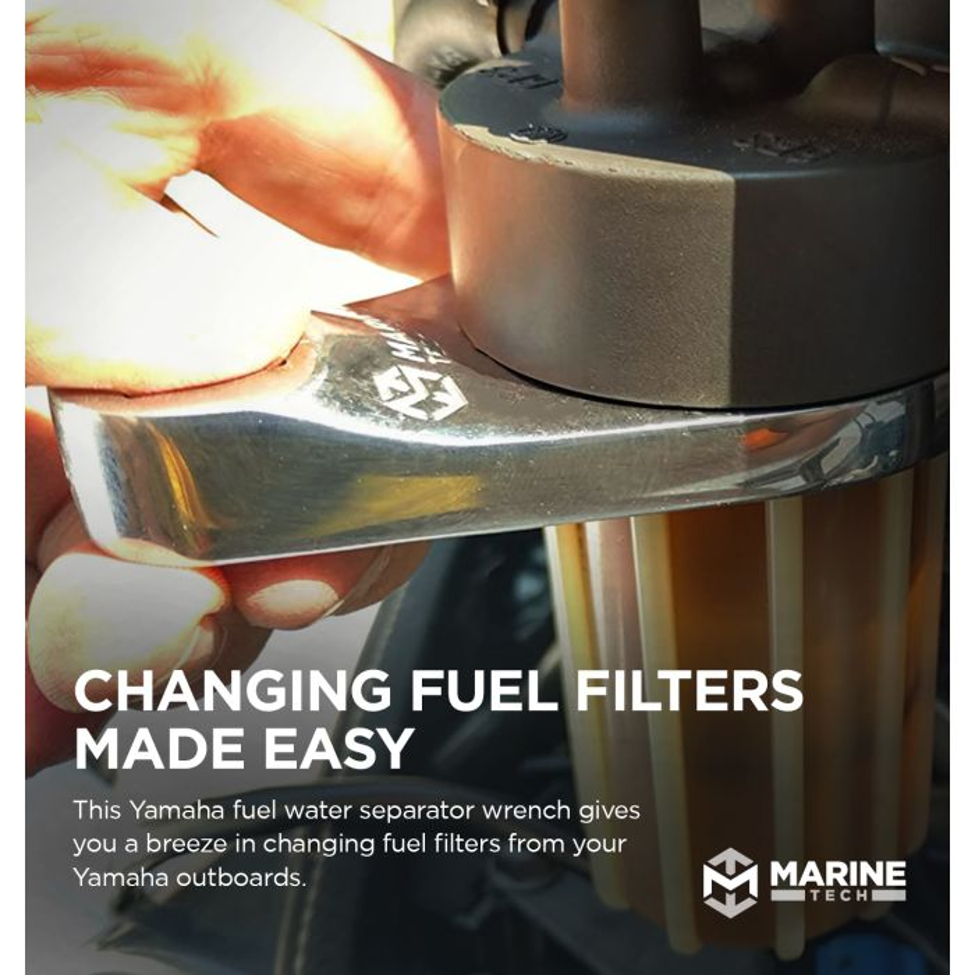
5. Change Fuel Filters
Remove and replace the primary fuel filter. (Note that if you have a newer model filter, there will be extra wiring and an o ring that you’ll need to watch for as you take it out.) Then, remove and replace the fuel water separator.
At the same time, inspect the bottom of the bracket for any corrosion or buildup, as that would prevent the new seal from sealing correctly and cause it to pull air into the system. Finally, prime the fuel system so that no air bubbles can form inside the fuel water canister.
6. Final Steps
Once all the filters, spark plugs, and oil have been replaced, there are just a few more pieces left to check over. Remove the propeller and inspect the shaft and seals for any potential leaks or damage. Then, fill up the motor grease fittings until you see grease pushing out instead of water and air bubbles.
Inspect the zinc anodes to see if they need replacing, and then all that’s left is to run the motor for a while to make sure everything is working properly. You’re all set!