Take the guesswork out of hydraulic steering maintenance
Boating season is in full bloom and there are steps you can take to ensure that it goes smooth sailing. As you already know, boats require a lot of maintenance. Whether you are boating on the Great Lakes of the upper northwest or taking a cruise on the intercoastal, you need to ensure you have a properly maintained yacht. At Marine Tech, our mission is to provide you professional grade tools and parts so you can maintain your own boat and have more boat days. Today, we’ll be talking about our bleed system to ensure that your hydraulic steering is ready for another boating season.
How to Bleed SeaStar Steering with Marine Tech Bleed System
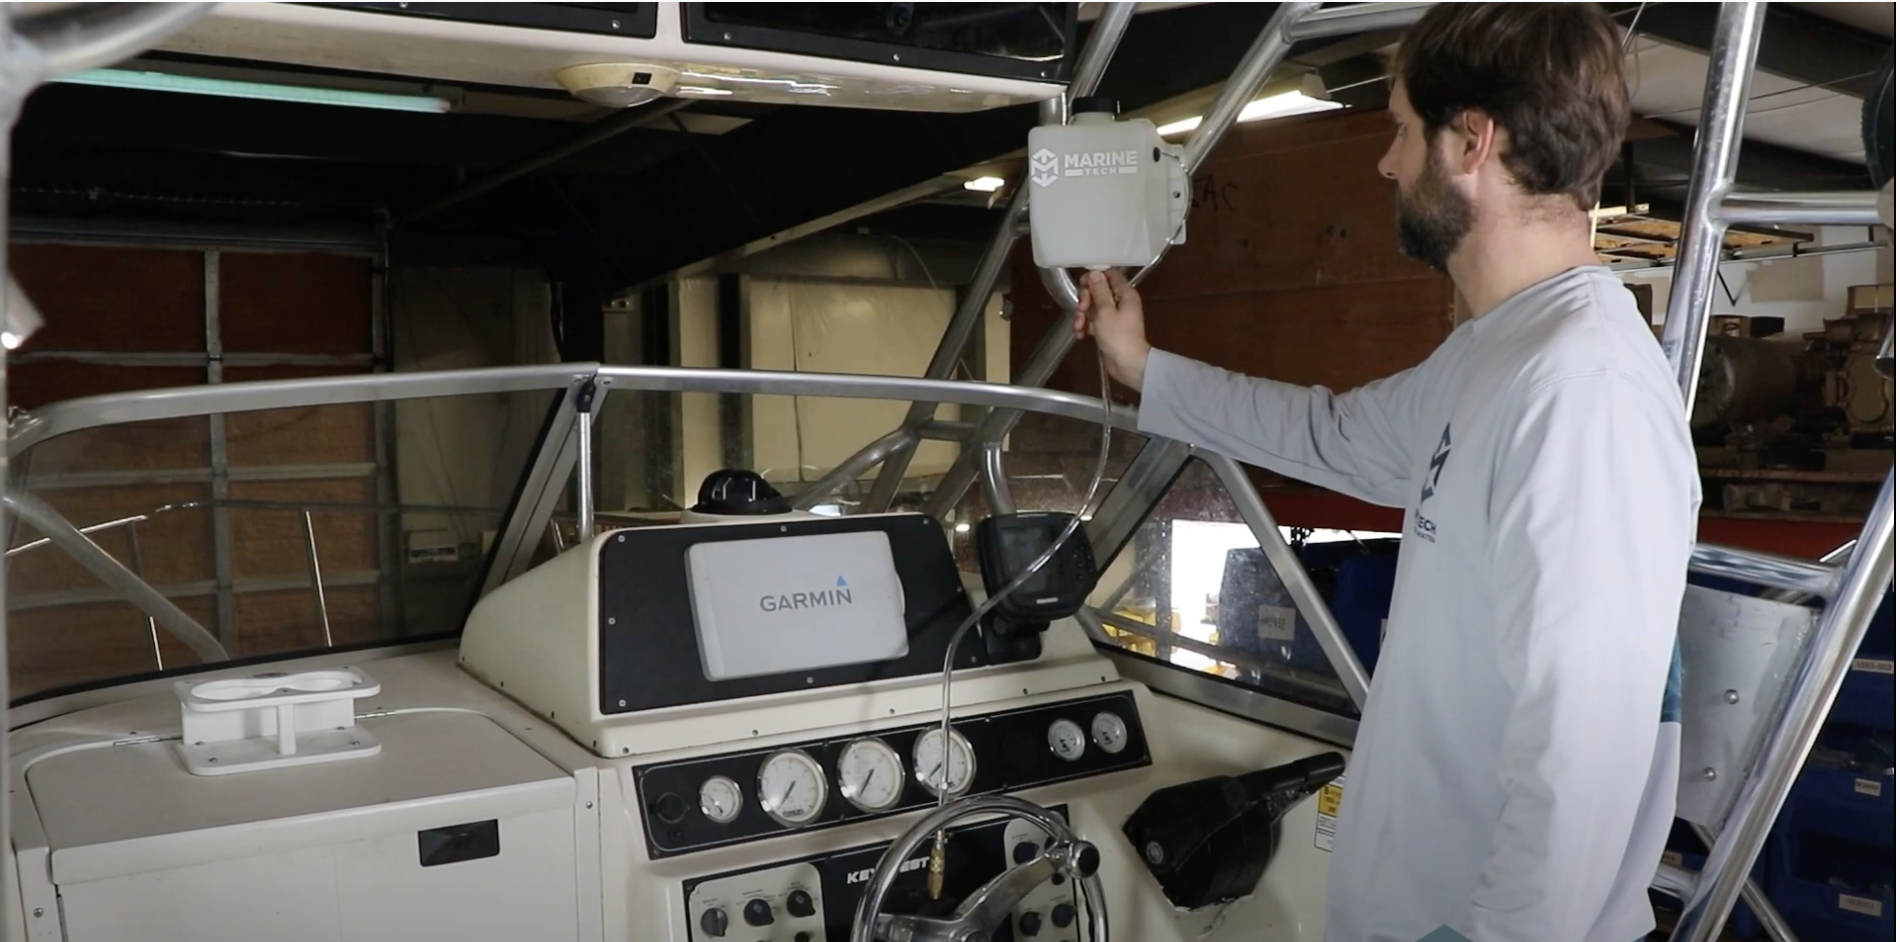
Our hydraulic steering bleed system is designed to make this critical maintenance job easy for the average person. We have included our step-by-step How to Bleed SeaStar and Uflex Steering with Marine Tech Bleed System video to show you exactly how to successfully take on this project. If you’re looking for more boat tutorials, join us and our community on Marine Tech Youtube.
Our Seastar Bleed System Includes:
- 25 feet of return hose
- 3-quart reservoir
- Brass Helm Fill Adapter
- 5-gallon bucket for easy storage and transport
- 1/2" Thin wrench for bleed fittings
Step 1: Connect the Return Line
After you have replaced the SeaStar Steering Seals in your steering cylinder and have emptied the old fluid and introduced air into the system, you’ll need to connect the return line to the bleed fittings. You’ll want to make sure that if the old fluid drains out and appears to be burnt or very dirty, that you flush out the system thoroughly. This ensures a clean job. Our bleed system includes a break in the line that allows you to empty the old fluid until new clean fluid appears.
Step 2: Start the Bleed Process
Once you open up the bleed fittings with the wrench that we include in the system, you are ready to start the bleed process at the helm. After removing the fill plug, install your helm adaptor and connect the tubing that leads to your reservoir. Your reservoir should be hung high enough to allow gravity to drain the fluid into your system. Carefully crack your fill fitting to allow for air to escape the system. You’ll be able to hear the air coming out. Make sure to retighten it so you don’t have fluid spilling all over before you start the bleed process.
Step 3: Turn The Wheel Slowly
Now you are ready to start the bleed procedure. Note: you’ll want to make sure you turn the steering wheel slow and steady to avoid sucking air into the system. Gradually turn in one direction until you can see the air bubble and clean fluid return to your reservoir. Now turn the wheel in the other direction in the same slow, steady way. Once again you should see the air bubbles and clean fluid return to the reservoir.
Final Step: Rotate Motors Side-to-Side
At last, you are ready to do the final step. Rotating the motors side-to-side removes all possible air that still may be trapped in the system. Once this is completed, you are ready to disconnect the bleed fittings, as well as the helm fill line and adaptor. Make sure you visually inspect to make sure there is fluid at least ¼ inch below the threads. Install the fill plug and now you’re ready to pack up your kit into the 5-gallon bucket and you are all set!
It feels great to be able to manage your marine maintenance on your own. That’s what we here at Marine Tech strive to help you with. We offer a wide range of specialty products, tools, training videos, and gear to make your marine maintenance jobs more doable. If you’re new to Marine Tech, don’t forget to join our email list here.
Discover More From Marine Tech Below:
DIY Training: Yamaha 100 Hour Service
DIY Training: Yamaha Water Pump
Enjoy More Boat Days With Quality Gear From Marine Tech